[Git] Git Intermediate
Previous Posts:
Git Intermediate
In this post, we will learn more advanced features of Git.
Changing the Last Commit
Sometimes we can make mistakes when making commits.
If we did not push it to the repository, we can simply use git commit –amend to fix the previous commit.
Let’s look at an example.
$ touch test{1..4}.md
$ git add test1.md && git commit -m 'Create first file'
$ git add test2.md && git commit -m 'Create send file'
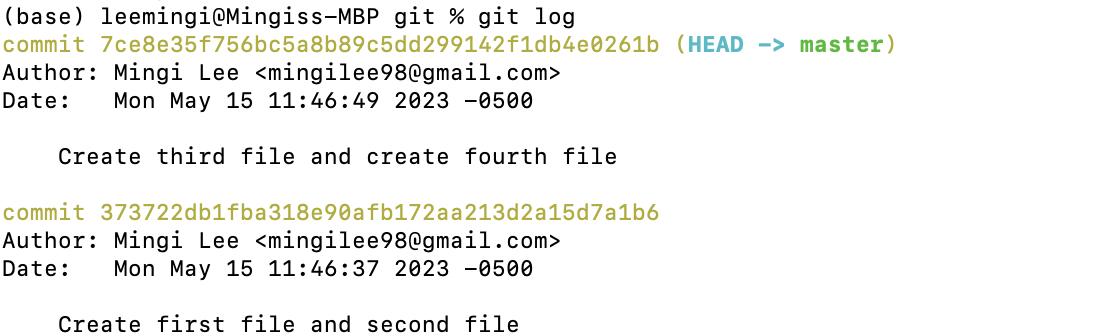
$ git add test3.md && git commit -m 'Create third file and create fourth file'
From the code above, we realize that we did not add test4.md in our last commit.
To fix this issue, we can do the following.
$ git add test4.md
$ git commit --amend
This will replace the last commit with an entirely new one.
Thus, it can potentially destroy a commit other developers are basing their work on.
We should always be careful and let coworkers know about this change.
Changing Multiple Commits
To change multiple commits, we can use rebase command.
rebase -i allows us to interactively stop after each commit we’re trying to modify, and then make whatever changes we wish.
Let’s look at an example.
$ git rebase -i HEAD~2
If we enter the command, we will see the following.
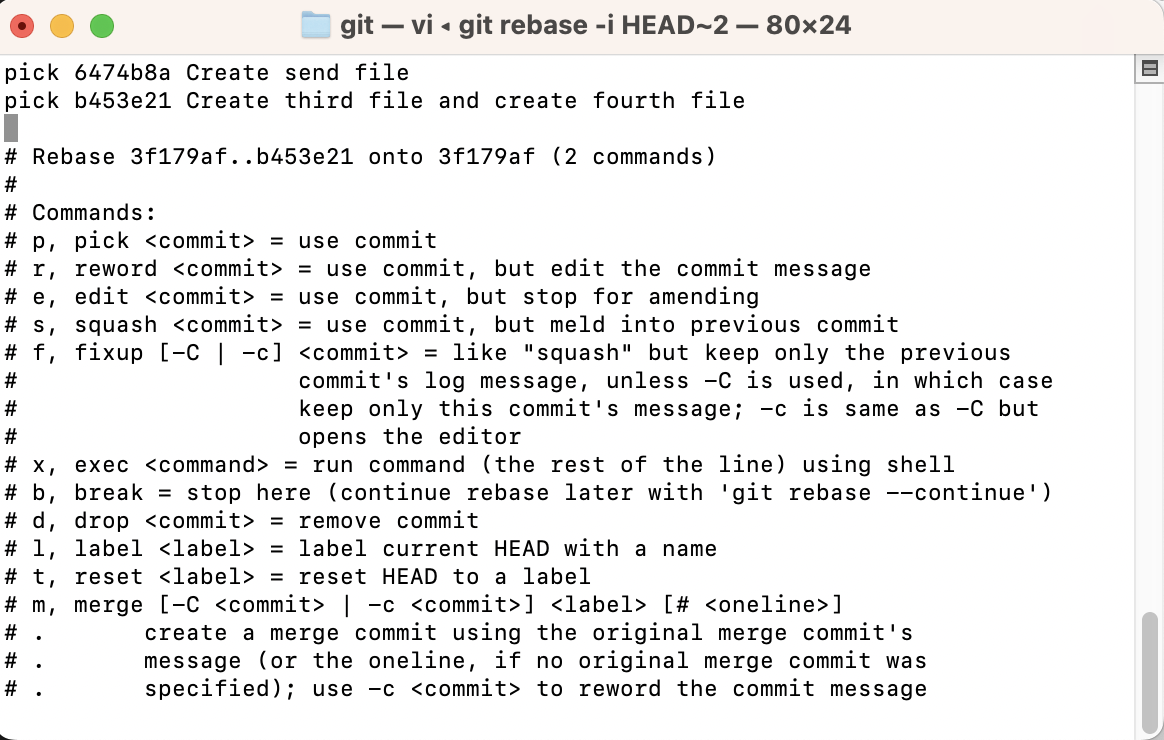
We can see the pick command at the beginning of the first and second lines.
To edit the changes, we can change the pick command to edit.
We could also remove or change the order of the commits.
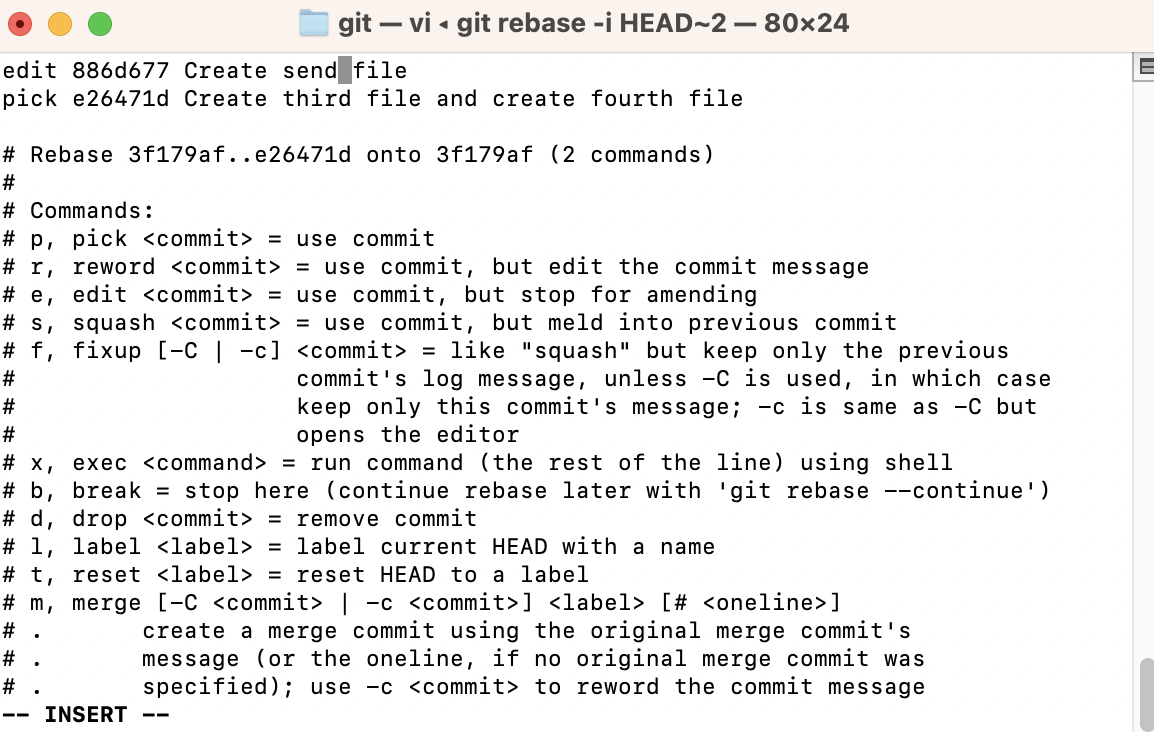
Notice that we have changed the first line by fixing the typo.
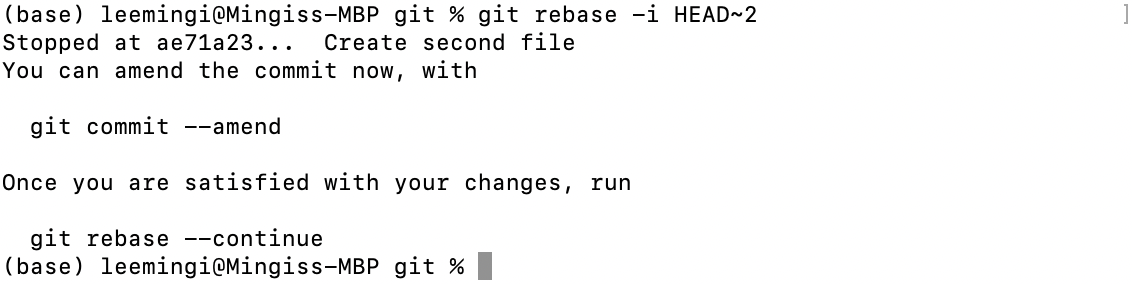
Now, we can edit our commit by typing git commit –amend.
Then, we can finish the rebase by typing git rebase –continue.
Just like changing the previous commit, we have to be extra careful when we are doing rebase and let coworkers know.
Squashing Commit
We can use squash to keep our Git history tidy.
If we want to squash the commits, we can use git rebase -i and do squash.
If we want to squash those two commits into one, we can do
$ git rebase -i --root
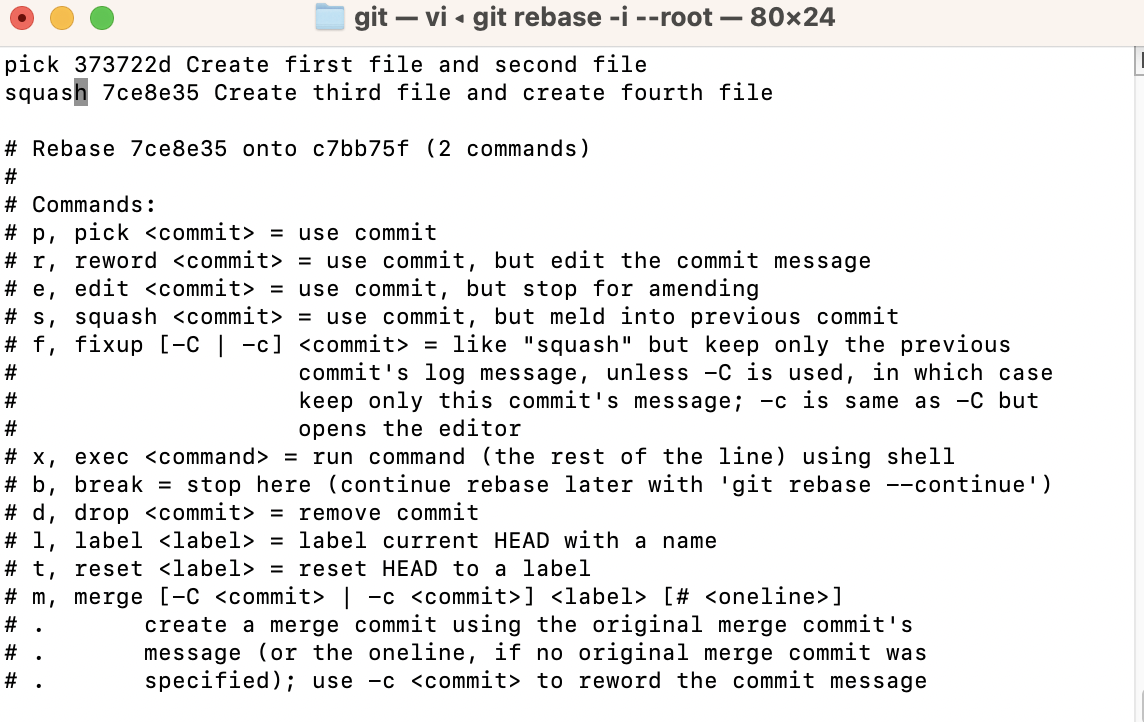
Then, we can squash the commits into one with the editor.
Splitting Up a Commit
Now let’s learn how to split up a commit. We can use the interactive rebase again to split up a commit.
If we want to split up the last commit, we can again use rebase and edit the commit that we want to edit.
After choosing the commit that we want to edit, we can run git reset HEAD^.
This command resets the commit to the one right before HEAD.
$ git reset HEAD^
$ git add test3.md && git commit -m 'Create third file'
$ git add test4.md && git commit -m 'Create fourth file'
In the console above, we reset the current branch by pointing HEAD at the commit right before it.
At the same time, git reset also updated the staging area with the contents of wherever HEAD is now pointed.
If we want to keep the staging area, we can use git reset –soft.
If we want to even update the working directory, we can use git reset –hard.
However, we should always be careful when doing a hard reset because it can overwrite history.
Git Revert
If we’re collaborating with others and want to undo a commit we just made, we can use git revert
Unlike reset, revert creates another commit with changes.
Because reset deletes all the commits, it is not safe to use reset when working with others.
However, because revert does not delete the commits creates a new commit with the changes, it is safe to use this command.
Dangers and Best Practices
Some commands that we learned today can be dangerous when we are collaborating with others.
These commands can destroy the work your coworkers have created.
Thus, it is noteworthy to know what are some dangers and best practices for using these commands.
- Always be careful when you are rewriting history.
- Ideally, only use these commands in your own branch.
- Don’t push after every single commit, changing published history should be avoided when possible.
- never amend commits that have been pushed to remote repositories.
- never rebase a repository that others may work off of
- never reset commits that have been pushed to remote repositories.
Reference
https://www.theodinproject.com/lessons/javascript-a-deeper-look-at-git